
The internet has been bursting at the seams with news about OpenClaw, the open-source personal AI assistant with super powers. I’m not quite ready to install it on my primary MacBook Pro yet, but I have an Nvidia Jetson Orin Nano which seems like the perfect candidate for a test.
Prerequisites
- If you want to install OpenClaw on a Jetson Orin Nano, you need a Jetson Orin Nano.
- You should have it set up already and have SSH access.
- You need access to some AI model, most likely API access or some subscription (OpenAI, Github Copilot, Anthropic, you name it).
Update to the latest JetPack
SSH into your Nano and update to the latest version of JetPack (6.2.2 as of February 22, 2026). I followed this video.
Two notes for the video:
- The correct command is
apt-mark showholdinstead ofapt-mark show hold. - I had to edit
/etc/apt/sources.list.d/nvidia-l4t-apt-source.listinstead of/etc/apt/sources.list.d/nvidia-apt-source.list.
Feel free to also check out the official Nvidia JetPack 6.2.2 upgrade instructions.
So in my case all I had to do:
- Run
sudo vim /etc/apt/sources.list.d/nvidia-l4t-apt-source.listand update all three occurrences of36.4to36.5. Save the file and exit the editor. - Run
sudo apt update. - Run
sudo apt dist-upgrade. This will take about 30 minutes or so. It will ask if you want to overwrite some config files. I looked at the diff for each usingD, couldn’t see any differences I wanted to preserve and then pressedYto overwrite with the new version. - Run
sudo rebootto reboot the machine. That’s needed to actually upgrade the firmware.
Install Node
The OpenClaw installer script claims to install everything (including Node), but in my case it didn’t. So I had to install Node 24 manually using NodeSource. I simply ran these two commands:
curl -fsSL https://deb.nodesource.com/setup_24.x | sudo -E bash -
sudo apt install -y nodejs
Verify by running node --version. It should print 24.13.1 (or newer).
Install Linuxbrew
Since OpenClaw uses brew to install dependencies, it’s a good idea to already set up Linuxbrew before we start the OpenClaw installation.
Simply follow these steps:
sudo apt install -y build-essential curl file git

/bin/bash -c "$(curl -fsSL https://raw.githubusercontent.com/Homebrew/install/HEAD/install.sh)"

echo 'eval "$(/home/linuxbrew/.linuxbrew/bin/brew shellenv bash)"' >> ~/.bashrc
eval "$(/home/linuxbrew/.linuxbrew/bin/brew shellenv bash)"
Make sure it works: brew doctor.
Install OpenClaw
I tried running the installer again, and it finished successfully but the openclaw command was not available and also didn’t exist in ~/.npm-global/bin.
I saw it spat out inappropriate ioctl for device during the install.
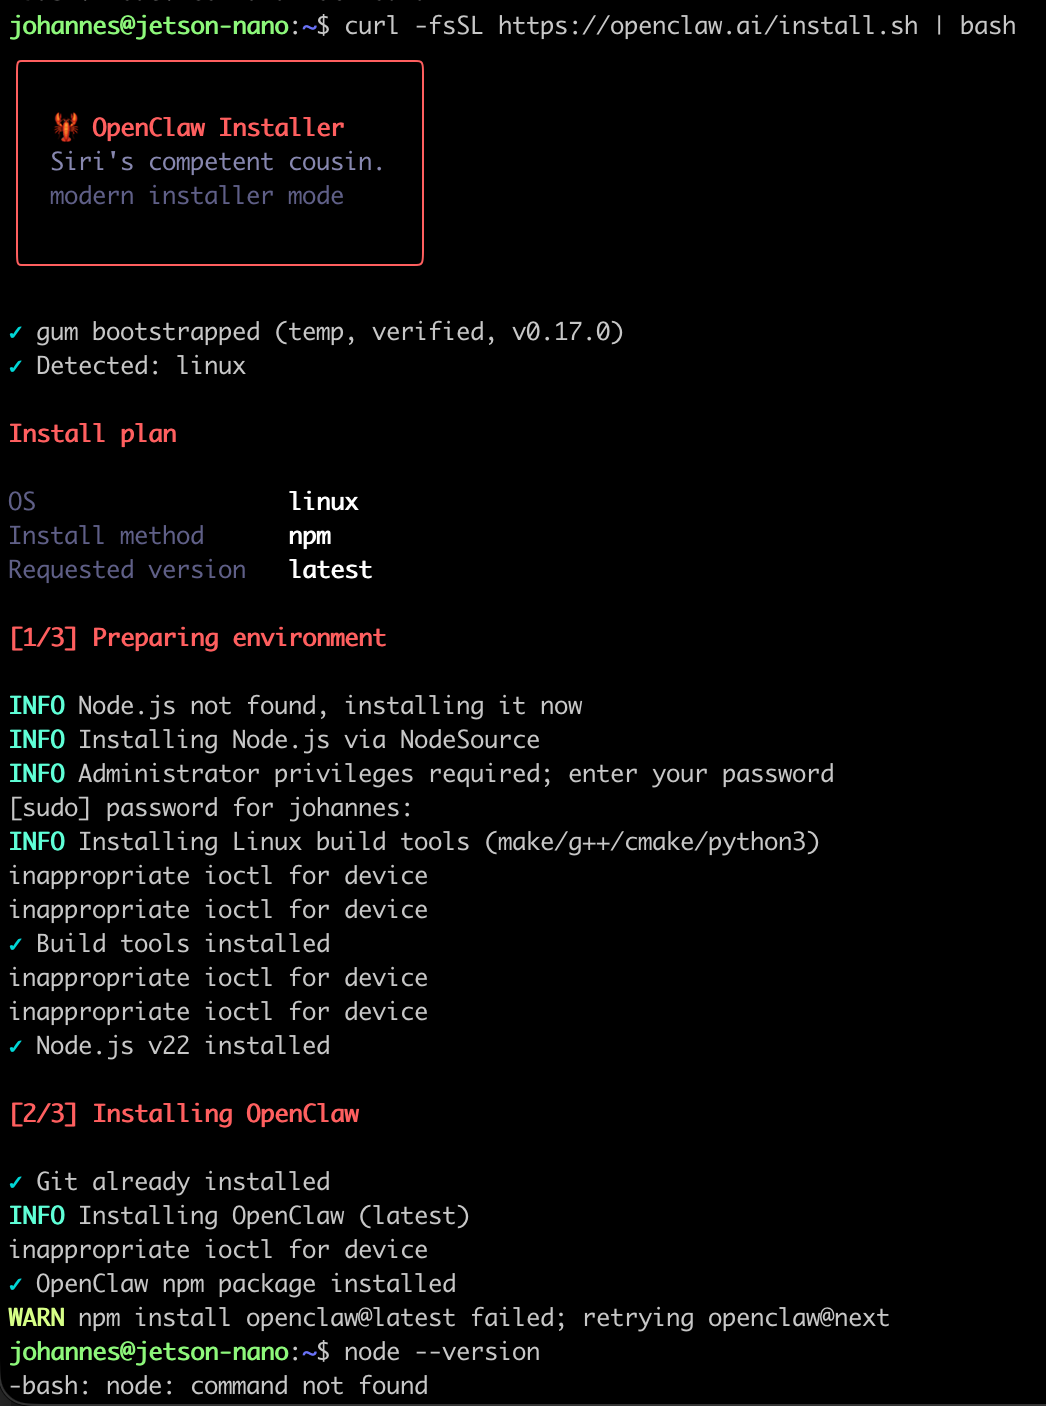
I found this GitHub issue about the problem and then tried the suggested solution:
curl -fsSL https://openclaw.ai/install.sh | bash -s -- --no-gumThe --no-gum flag bypasses the interactive terminal prompts that cause the ioctl error on the Jetson.
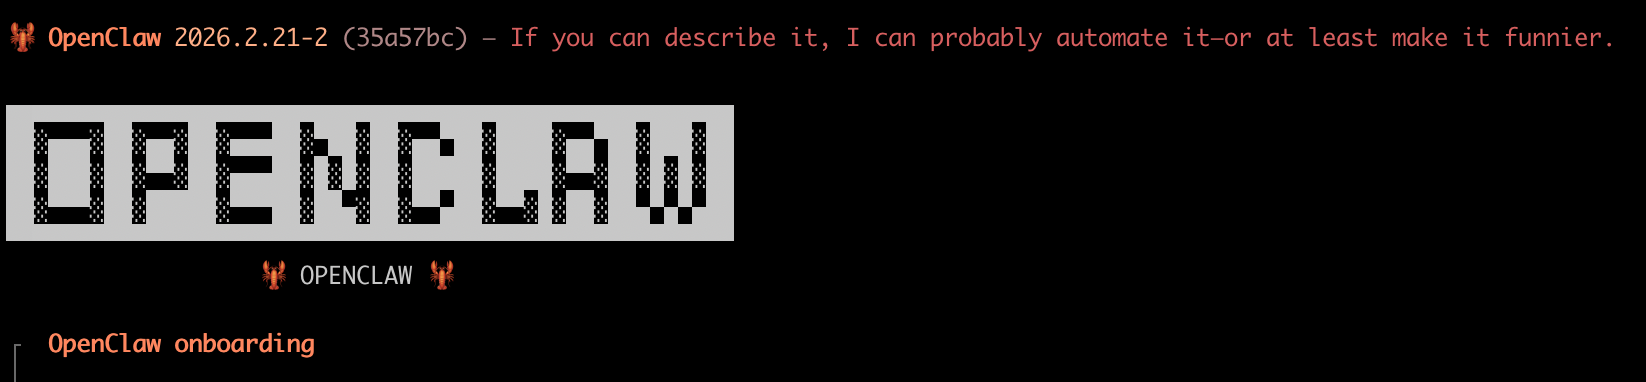
I then selected the Quickstart option and Copilot as my model/auth provider. I followed the GitHub Copilot auth-flow and then selected github-copilot/claude-opus-4.6.
For channel I selected “Telegram (Bot API)” and followed the instructions to set up my lobster bot.
Next I selected “No” for “Configure skills now?”. At this point things might look a bit different for you. At first run I had selected “Yes” for configuring the skills and had selected a few. Installation failed because I hadn’t yet installed Linuxbrew. So I couldn’t finish the initial onboarding all the way through.
I fixed that by running openclaw config and selected the sections I needed to finish setting up, especially “Channels”. I selected Telegram again and at the same time started a chat on the Telegram app with the bot I had just created. The first DM triggered the bot to generate a pairing token. I had to run openclaw pairing approve telegram <TOKEN> to finish the connection.
After sending the first “Hello” to my OpenClaw installation, I saw that it worked:
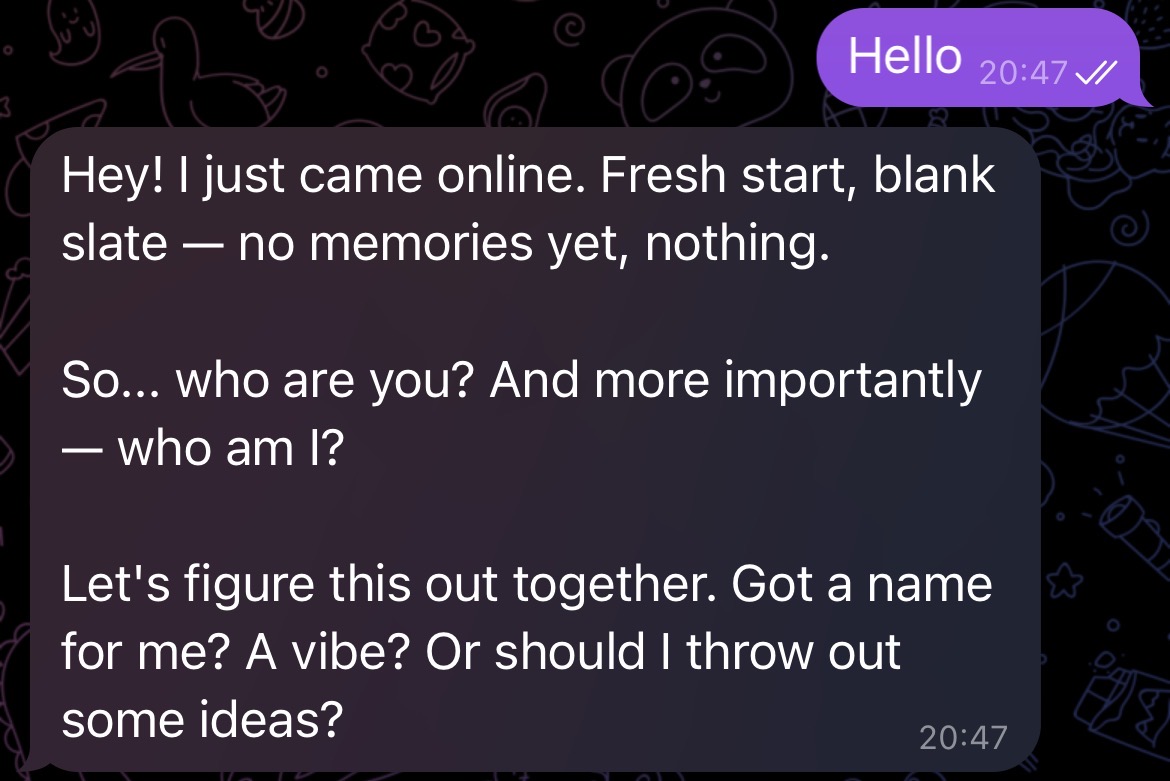
So it was pretty easy to set up. It is currently installing whisper.cpp on my behalf so it can understand voice messages I send it. I’m curious to see how performant it will be on a Jetson Nano and how useful. Running it on a Mac enables a lot of extra capabilities. That’s why quite a few people are buying dedicated Mac minis just to run OpenClaw. One of the next things I want to set up is headless Chrome with Playwright in order to use OpenClaw’s web browsing capabilities. I’ll update this as I learn more.